Description
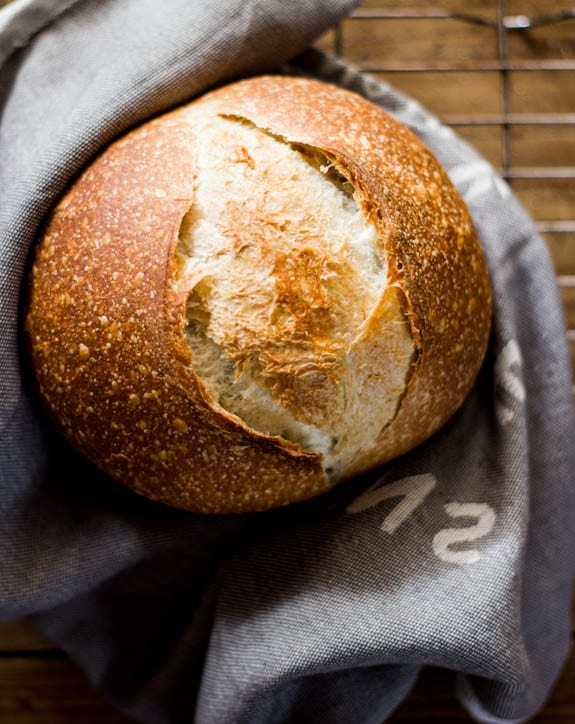
This beginner sourdough recipe is perfect for bakers
looking to jump right in! It’s is a low-hydration dough, meaning it
will yield a ‘tight’ crumb (small holes). It is great for sandwiches and
toast.
Ingredients
5.35 oz / 150g bubbly, active starter8.80 oz / 250g warm water, preferably filtered
.90 oz / 25g olive oil
17.65 oz / 500g bread flour (not all purpose)
.35 oz / 10g fine sea salt
fine ground cornmeal, for dusting
*You will need a 6 quart Dutch oven for baking
** This recipe was tested with King Arthur, Gold Medal + Pillsbury bread flour
Instructions
- To make the dough: Whisk the starter, water, and olive oil in a large bowl. Add the flour and salt. Squish everything together with your hands until all of the flour is absorbed. Rest (autolyse) for 30 minutes.
- After the dough has rested, work the dough in the bowl into a rough ball, about 15 seconds.
- Bulk fermentation: Cover the bowl with plastic wrap and a clean kitchen towel. Leave it in a warm, sunny spot to rise. Your dough is ready when it no longer looks dense, and has increased in volume about 1½- 2x its original size. This can take anywhere from 3-12 hours depending on the temperature of your ingredients, the potency of your starter and surrounding environment. I make my dough in the afternoon, and leave it to rise overnight. See my Winter Weekend Baking schedule (in post above) for more details.
- Stretch & folds: During bulk fermentation, you have the option to perform a series of ‘stretch & folds’ to strengthen the dough. Simply gather a portion of the dough, stretch it upwards and then fold it over itself. Rotate the bowl ¼ turn and repeat this process until you have come full circle. Do this once or twice spaced an hour apart. Although this step is not mandatory, it will increase the total volume of your bread.
- Cutting & shaping: To cut and shape the dough, divide your work surface in half; lightly flour one side (for cutting) and leave the other half clean (for shaping).
- Remove the dough from the bowl, and place onto the floured section so that it does not stick. You do not need to ‘punch down’ the dough; it will gently deflate as you fold and shape it.
- Cut the dough in half to make 2 loaves, or leave it whole for a single loaf.
- To shape, use a bench scraper to move your dough to the non-floured section (if there is any flour present, it will be difficult to shape- brush away any excess). Starting at the top, fold the dough over toward the center. Give it a slight turn, and then fold over the next section of dough. Repeat until you have come full circle. Then flip the dough over and place it seam side down. Using your hands, gently cup the sides of the dough and rotate it, using quarter turns in a circular motion. You can also pull it towards you to even out the shape. Repeat this process until you are happy with its appearance.*See note below.
- Second rise: Coat the bottom of your Dutch oven with cornmeal. Alternatively, use parchment paper to prevent sticking (this is what I do, now). Place the dough inside for a second shorter rise, about 1-2 hours. It is ready when the dough is slightly puffy.
- Slashing the dough: Right before your bread goes into the oven, make a shallow slash about 2 inches long in the center of the dough. Use a bread lame, a sharp pairing or serrated knife.
- Preparing the oven: When ready to bake, preheat your oven to 450 F.
- Place your bread into the oven (lid on) and reduce the temperature to 400 F. Bake for 20 minutes. Remove the lid, and continue to bake (uncovered) for an additional 40 minutes or until deep, golden brown. Keep in mind that all ovens are different; you might have to make minimal adjustments to these temperatures.
- During the last 10 minutes of baking, crack open the oven door. This allows the moisture to escape, leaving your bread with a crisp crust.
- You can also take the internal temperature of your bread to double check that it is done. For sourdough, it should read about 205 F.
- Cooling: Remove the bread from the oven, and cool on a wire rack for at least an hour before slicing. Don’t cut too soon or else the inside will have a gummy texture!
Notes
When shaping, the idea is for the dough to catch
enough surface tension on a non-floured area in order to create a tight
ball. If there is flour present, it will slide around…and drive you
nuts.

No comments:
Post a Comment